|
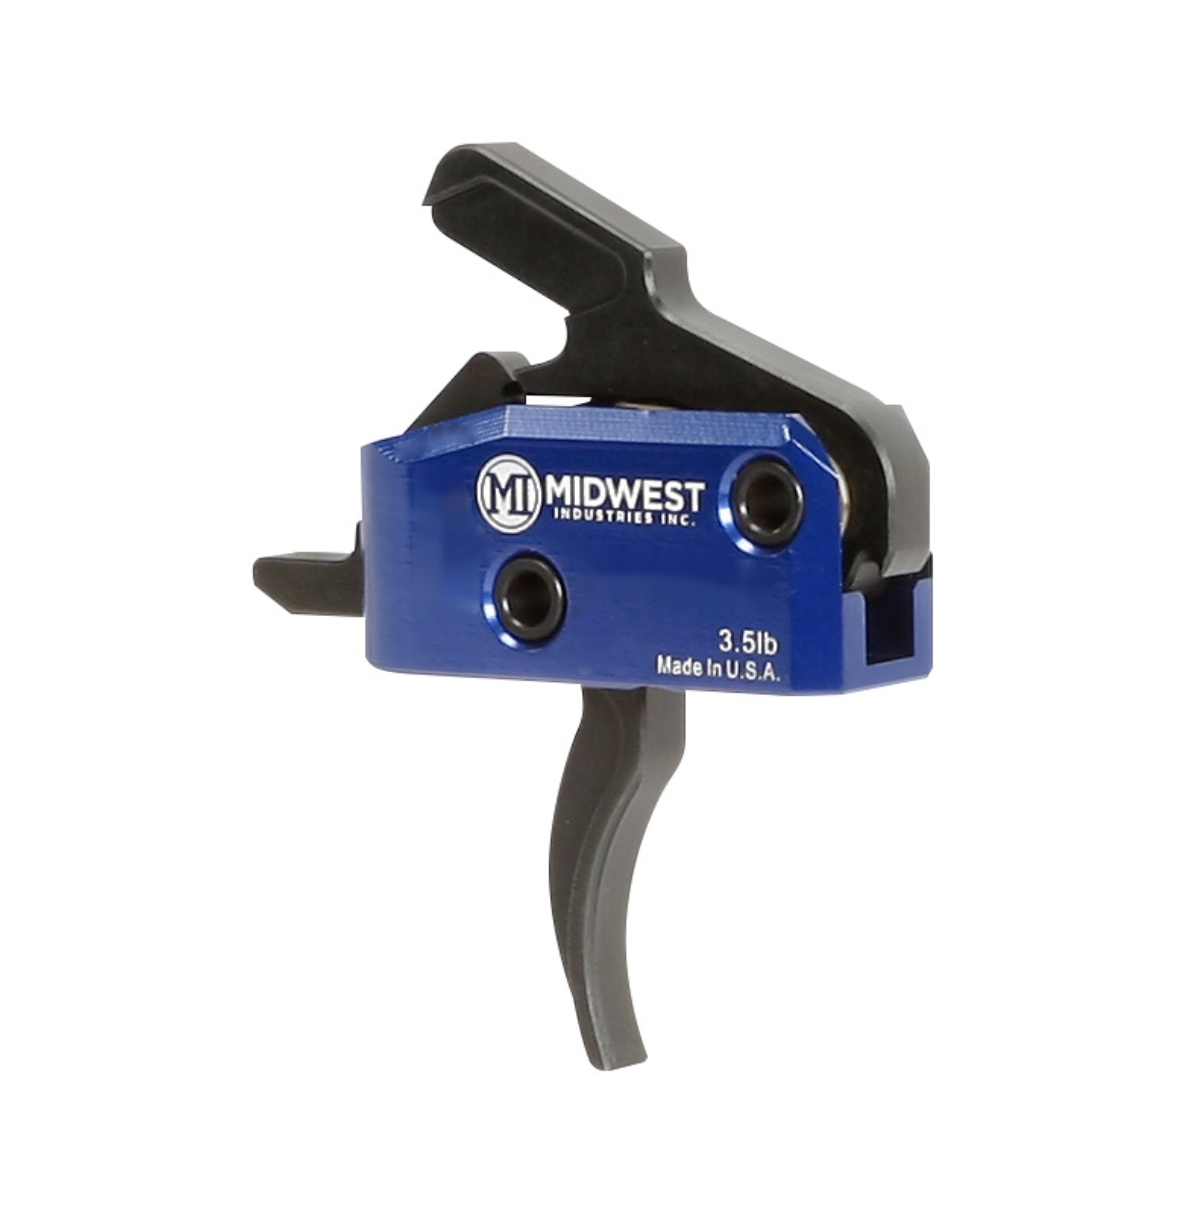
- 3.5lb Single-stage trigger system
- Allows you shoot more accurately with less effort
- Ultra-smooth break with a crisp, clean release
- Fits small pin size (.154)
- Quick reset and low overtravel for enhanced speed
- Interior parts are S7 tool steel with heavy-hit hardening then black nitride finished for enhanced strength and corrosion resistance
- Lightened trigger pull (3.5-lb. pull weight)
- Lightened hammer
- Drop safety feature
- Self-contained design makes it easy and quick to install with no fine-tuning needed
- Unit weight: 2.4 oz.
- CNC machined from high-grade, heat-treated tool steel and aluminum
- Blue anodized aluminum cassette housing
- Fits most .308 and .223 AR style platforms
- Anti-walk pins and screws included.
- Our products are backed by a limited lifetime guarantee. If you have any issues, please contact us at https://www.midwestindustriesinc.com/Articles.asp?ID=259
- 100% Made in USA
Note: The center set screw should not be tampered with. Any attempts to modify the trigger will void the warranty.
Instructions
NOT FOLLOWING THESE INSTRUCTIONS WILL RESULT IN WARRANTY BEING VOID. MIDWEST INDUSTRIES IS NOT RESPONSIBLE FOR DAMAGE DONE TO FIREARM DURING INSTALLATION.
STEP 1
Make sure the weapon is clear and there is not a round in the chamber. REPEAT THIS STEP. Remove the upper receiver from the weapon system.
STEP 2
Loosen the grip screw on the inside of the grip and remove it. It may be a flathead, torx head, or hex head, depending on the manufacturer. Carefully remove the grip to expose the spring inside. There is a detent behind the spring. Both of these are small and easily lost. Remove the spring and detent, using your hand or a plastic bin to catch the detent as it falls. Save them for reinstallation (Step 7).
STEP 3
With a small brass punch or nonmetallic item (to avoid damage to the finish), press out the hammer pin and remove the hammer and hammer spring.
STEP 4
Next, press out the trigger pin. This may require pressing down on the disconnector. Remove the disconnector, disconnector spring, trigger, and trigger spring. Now remove the safety selector if it did not come out earlier. The pocket that everything was in should now be clear and empty.
STEP 5
Drop the Midwest Industries trigger in the pocket using the holes as a reference for direction. The hammer will face the magwell.
STEP 6
Install Anti-walk pins with included wrench and screws.
STEP 7
Reinstall the safety selector and the grip assembly with the detent, detent spring, grip, and grip screw to their respective positions in that order.
STEP 8
There are two small setscrews located on the trigger system under the hammer springs. Lift or shift over each hammer spring and use a 5/64 Allen wrench to snug the setscrews to the floor of the receiver. Do not overtighten, as this will change the poundage of the trigger.
DO NOT TIGHTEN OR LOOSEN THE MAIN SETSCREW (LOCATED IN THE CENTER). THIS HAS ANOTHER FUNCTION AND IS NOT TO BE CHANGED BY THE OPERATOR. SEEK A COMPETENT GUNSMITH IF CHANGES NEED TO BE MADE.
STEP 9
Perform functions check on the weapon to verify correct installation.
|
|